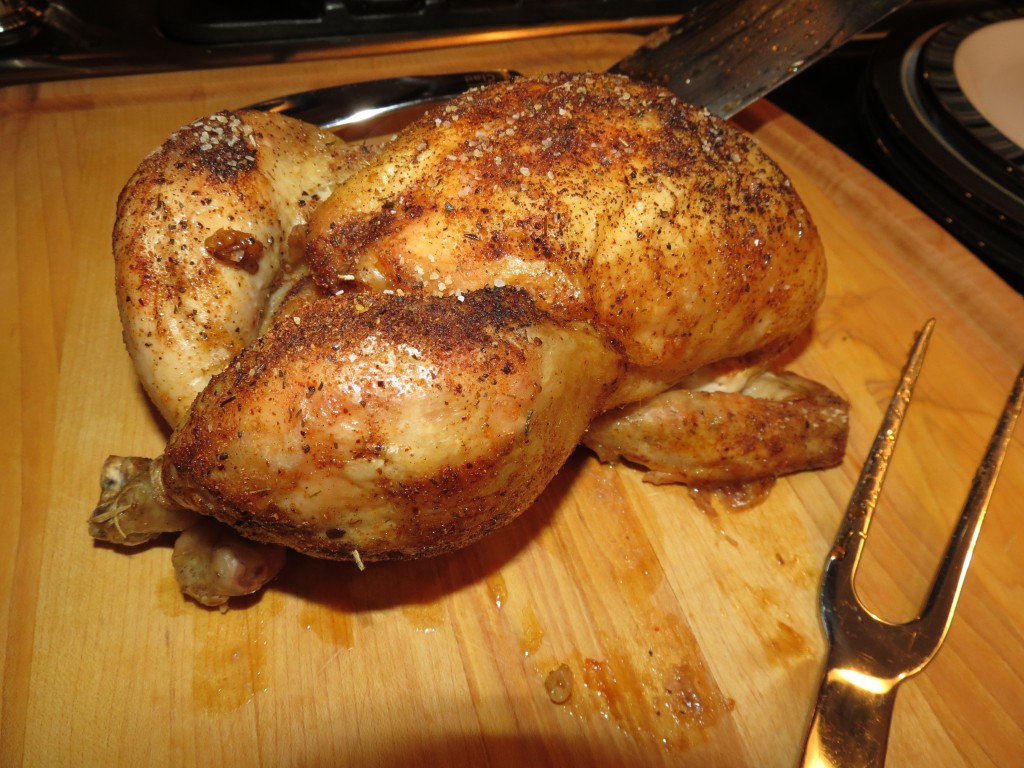
Hardly a week goes by without me roasting a chicken in the oven. For me, roast chicken is the ultimate comfort meal. One bite takes me back to the immediately soothing and familiar taste of my mom’s roast chicken, and provides me with a lifetime of memories at the tip of my fork. There is also that happy homemaker feeling you get from roasting a chicken. Apart from the wonderful smells in your kitchen, it provides you with a sense of satisfaction, and for me, is the real demonstration of putting meat on the table.
It was in university that I learned to roast a chicken, and to use a meat thermometer, and the sense of accomplishment I felt at the time was worth its weight in gold. It also gave me the confidence to start trying new things, and to start cooking other cuts of meat that are trickier to get right the first time, like beef. It’s difficult to mess up roasting a chicken, but if you’ve never done it before, it can be extremely daunting.
So, below are my notes from having roasted hundreds of chickens over the years. And, while I realize that for some of you these notes won’t be providing any new insights on cooking a bird, it will hopefully remind you that if you haven’t put one in the oven recently, now’s the time to reconsider your next dinner’s menu.
I hardly feel that we need more cookbooks (or food blogs!) with recipes for roasting a chicken; however, these notes serve as a useful reminder of the following:
- While it takes about an hour to cook, preparing a roast chicken can require no more than 2 minutes of your time. This is especially useful to remember when you’re in a hurry, or if you have a newborn at home, or your nerves are frayed or you’re very tired after a long day at the office.
- Chicken is a neutral canvas that begs for flavour additions, allowing endless opportunities for variations on a basic meal.
- Roast chicken is one meal that is delicious both served hot out of the oven, and served cold, from the fridge.
- Roast chicken is simple enough to make for your family, but classic enough to serve for company. I would never shy away from serving roast chicken to any guest in my home.
Here is my basic recipe, and some variations to make it something you can serve in your home on a weekly basis.
1 whole chicken
1 lemon
1 cup water, broth or vermouth
Salt and pepper
Preheat your oven to 400F. Remove the chicken from the fridge and let it come to room temperature before placing in the oven, about an hour. (This will ensure that the chicken roasts evenly).
First, choose a good roasting pan. While you can cook a chicken in nearly any oven safe receptacle, I’m a big fan of making pan gravy with the juices from my chicken, and love to deglaze the roasting pan to get all of the good roast sticky bits from the bottom of the pan to flavour my gravy. As a result, I like to use a good stainless steel roasting pan for my chicken, though if you plan on skipping the gravy making process, you could roast your chicken in a glass or ceramic baking dish. Even a large frying pan will work, provided the handle on that frying pan is oven safe.
Place the chicken in a roasting pan, over a roasting rack. A roasting rack ensures that your chicken won’t stick to the bottom of the roasting pan, which is tremendously useful when you’re trying to get that bird out of the pan to carve it! If you do not have a roasting rack for your pan, you can easily customize one using one of the following options:
- Tear off a piece of aluminium foil about 2 feet in length, and roll it up, lengthways, until you have a crumpled, tube-like structure. Take this foil tube, and twist it into the shape of a coil (similar to an oven burner), and place at the bottom of your roasting pan. Set your chicken right on top, making the foil coil act like a trivet for your bird to rest on.
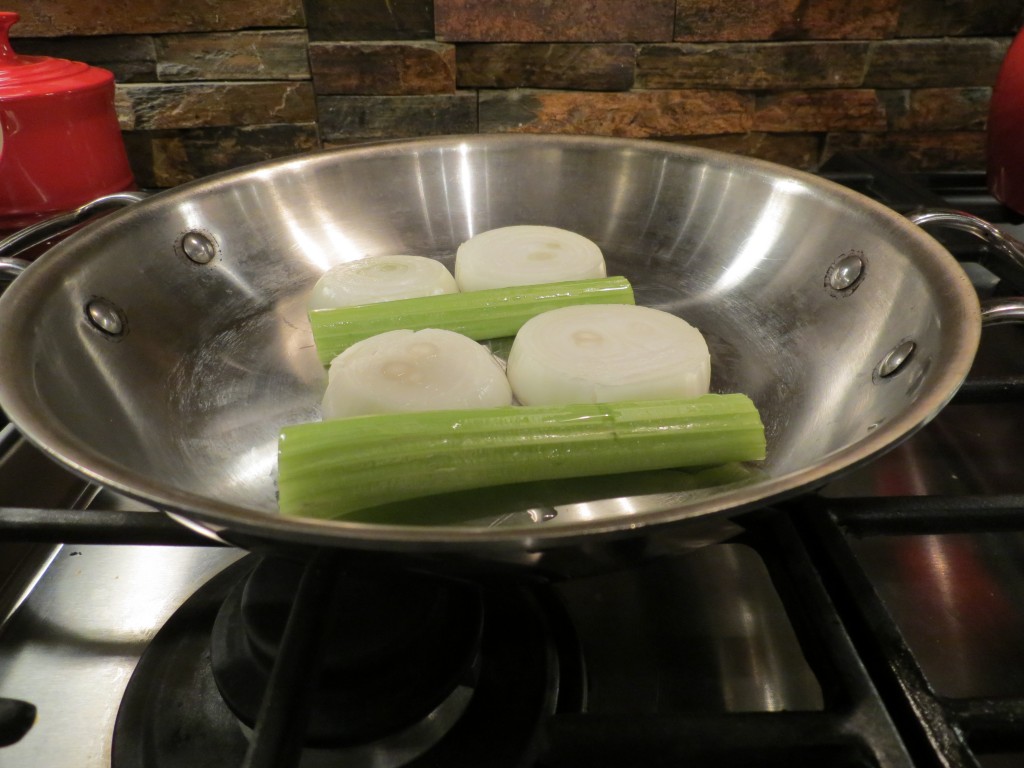
- Take 2 or 3 celery ribs, washed but uncut, and place them side by side in your roasting pan, and set your chicken on top of the ribs.
- Take 2 or 3 large carrots, washed, and cut them lengthwise. Set them, cut side down, so they rest nice and flat in the bottom of your pan, and set your chicken on top of the carrots.
- Take a large onion, and cut into thick slices. Place the slices (try to keep them intact, so that the rings don’t fall out of the slices) on the bottom of your roasting pan, and set your chicken on top.
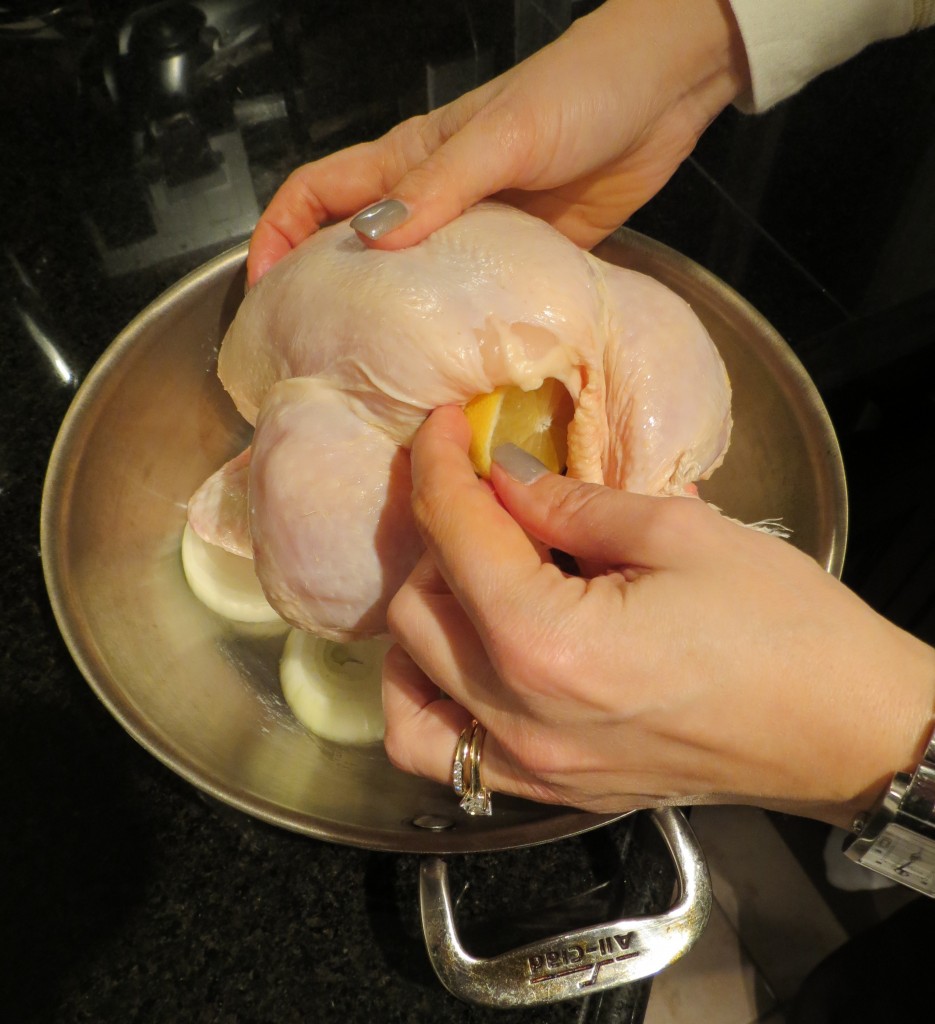
Next, once your chicken is in your roasting pan, season it with salt and pepper all over, and inside the cavity. Cut a lemon in half, quarter it if it’s large, and stuff the lemon pieces in the cavity of the chicken.
Add your cup of liquid to the bottom of the pan, and place in the preheated oven for about an hour, until a thermometer inserted into the thickest part of the chicken (usually the thigh) registers 180F, or until juices run clear when a knife is inserted into the chicken’s thigh.
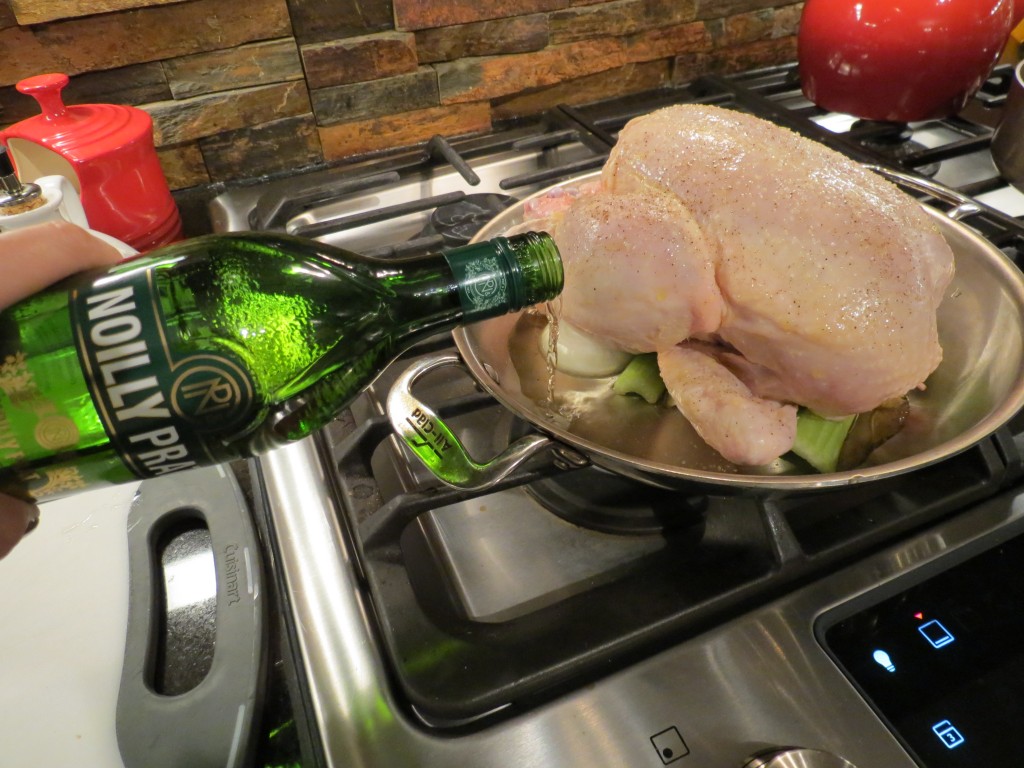
Vermouth is my secret for fabulous gravy for chicken, but I also use this for my roast turkey to rave reviews!
Ideally, you already have a meat thermometer, but if you don’t, I urge you to buy one. They’re inexpensive (don’t go in for the pricy models), and do the job effectively, and last a lifetime. So if you’ve got that thermometer, stick it into the bird (into the thickest part of the bird, between the thigh and the breast meat) before you put it in the oven; that way, you don’t have to fiddle around with a hot pan, and opening and closing the oven door repeatedly to check the temperature of your roast bird. It’s much easier to do this before you put it in the oven, and the thermometer will stay in place during cooking.
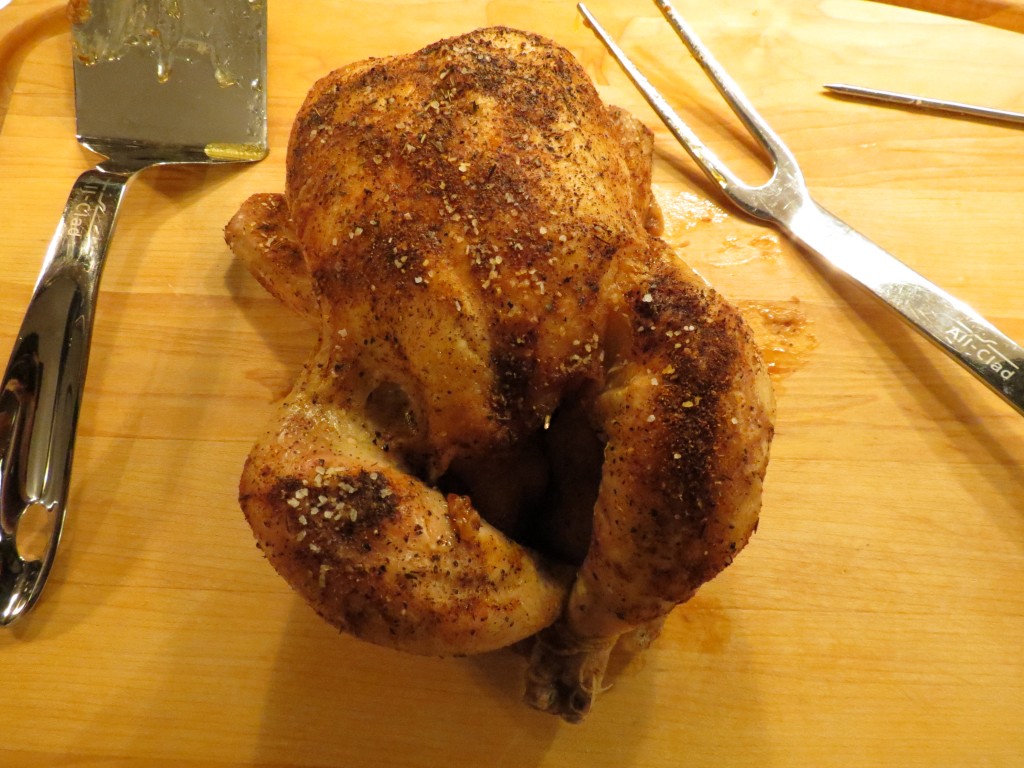
Take the chicken out of the oven, and let it rest for 10-15 minutes. This will allow the juices to evenly redistribute through the meat, making for a moist and tender chicken once cut and served. The temperature of the chicken can rise a few more degrees during this rest period, so I usually like to take my chicken out of the oven just before it reaches its 180F temperature.
Options, depending on time available, fatigue levels, and creativity:
- Before putting the chicken in the oven, you can pour some melted butter (about ¼ cup, melted) all over the skin. Or, you can take room temperature butter, and rub it all over the skin, or under the skin. There is something strangely satisfying about shoving your fingers under the chicken skin, and feeling the smooth, cool flesh of the breast, and massaging it with your favourite ingredient. I like butter, and if I’m feeling creative, or having guests over, I might pre-mix the softened butter with some lemon zest (I will zest the lemon before I cut it in half and shove it in the cavity), or some fresh herbs (about 1 tbsp or so). My favourite herbs include fresh rosemary, fresh sage or fresh tarragon.
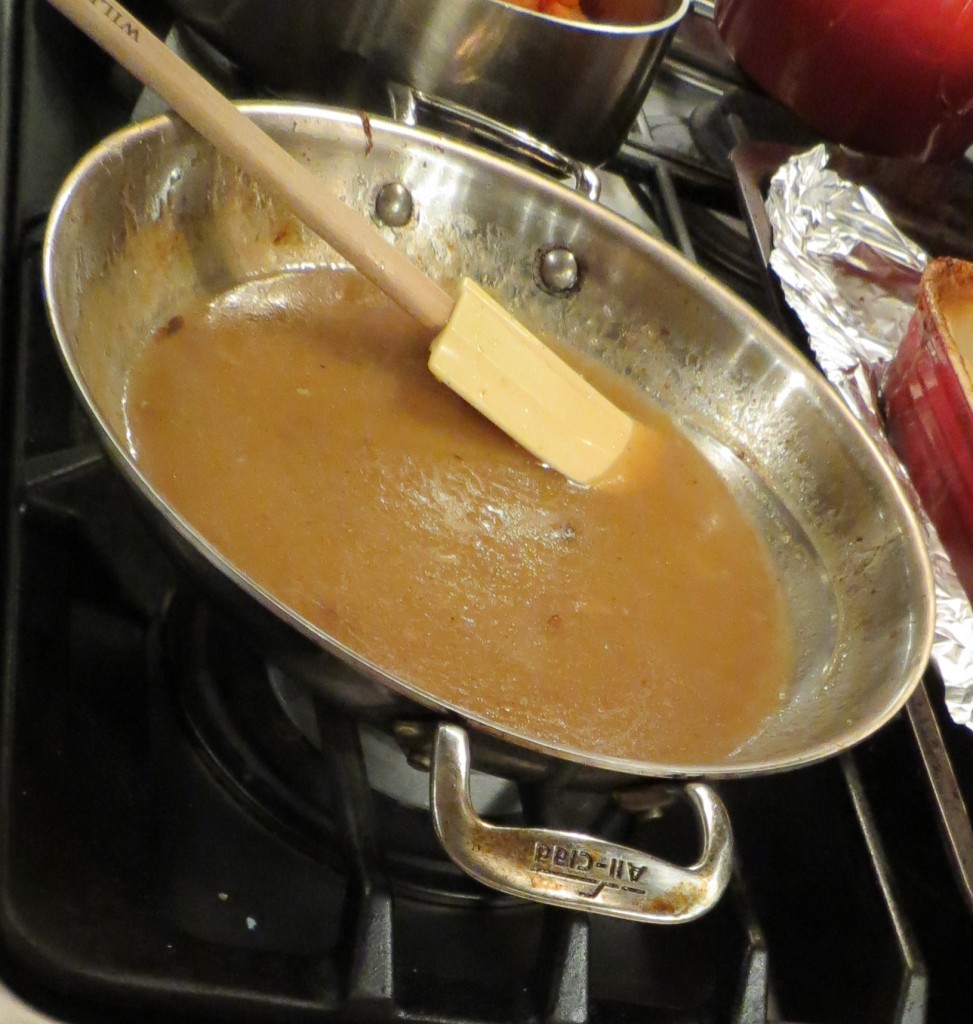
- When the chicken comes out of the oven for its mandatory rest, remove it from its pan, and place it on a cutting board. This will allow you to remove the roasting rack, or vegetables that were used to make a “trivet” for your bird, to make gravy. Once these are removed, and there is only liquid left in the pan, I set the pan over my burners, add a little vermouth, and let the liquid come to a boil. I then make a slurry of cornstarch and water (3 tbsp of each, mixed well in a small bowl), and add this to my boiling broth mixture. I stir until thickened, check the seasoning, add some salt and pepper, and pour everything in a gravy boat. You have no idea how amazing this tastes when served over mashed potatoes. So good, you almost don’t need chicken on the side!!!
To quote Nigella Lawson in her estimable book, How To Eat: You could probably get through life without knowing how to roast a chicken, but the question is, would you want to?
The most basic recipe a cook needs in their repertoire. Feel free to roast two chickens at the same time (just make sure the two birds aren't touching each other while roasting, for even cooking). The amount of time required to roast two birds will be the same, and you'll have plenty of leftovers to last you through the week. Ensure you give your chicken a 15 minute rest before carving, to allow all of those juices to redistribute evenly.
Ingredients
- 1 whole chicken
- 1 lemon
- 1 cup water, broth or vermouth
- Salt and pepper
- 3 tbsp cornstarch (optional, for gravy)
Instructions
- Preheat your oven to 400F. Remove the chicken from the fridge and let it come to room temperature before placing in the oven, about an hour. (This will ensure that the chicken roasts evenly).
- Place the chicken in a roasting pan, over a roasting rack.
- Next, once your chicken is in your roasting pan, season it with salt and pepper all over, and inside the cavity. Cut a lemon in half, quarter it if it’s large, and stuff the lemon pieces in the cavity of the chicken.
- Add your cup of liquid to the bottom of the pan, and place in the preheated oven for about an hour, until a thermometer inserted into the thickest part of the chicken (usually the thigh) registers 180F, or until juices run clear when a knife is inserted into the chicken’s thigh.
- Take the chicken out of the oven, and let it rest for 10-15 minutes. This will allow the juices to evenly redistribute through the meat, making for a moist and tender chicken once cut and served.
- When the chicken comes out of the oven for its mandatory rest, remove it from its pan, and place it on a cutting board. This will allow you to remove the roasting rack, or vegetables that were used to make a “trivet” for your bird, to make gravy. Once these are removed, and there is only liquid left in the pan, I set the pan over my burners, add a little vermouth, and let the liquid come to a boil. I then make a slurry of cornstarch and water (3 tbsp of each, mixed well in a small bowl), and add this to my boiling broth mixture. I stir until thickened, check the seasoning, add some salt and pepper, and pour everything in a gravy boat. You have no idea how amazing this tastes when served over mashed potatoes. So good, you almost don’t need chicken on the side!!!



Chantal, your blog looks amazing. Your photos are so crisp and clear. Ree Drummond better watch out, I think you are a rising star. Sorry it took me so long to come around to see your page, we’ve been traveling without laptops. I’m adding this recipe to this weeks meal plan!

Karen Sandoval recently posted…One Night In Santa Fe
Karen, I love your feedback…it reminds me of what Al said the other day. He called me a “blog star”. Isn’t that a hoot! Blog star or rising star, I’ll take the positive vibes…one thing’s for sure, I’m loving this blogging thing, and I love my blog site design! And I have YOU to thank for hooking me up with the gal who made it all happen – Elaine Griffin and her gorgeous designs!